
CNC: machining gopro hero 3 lens cap from acrylic
 As soon as I received my GoPro camera, I knew it needs a lens cap. I knew there were plenty of options to buy, but a) I was not eager to wait and b) I could manufacture it by myself. So, lets go ahead and manufacture it.
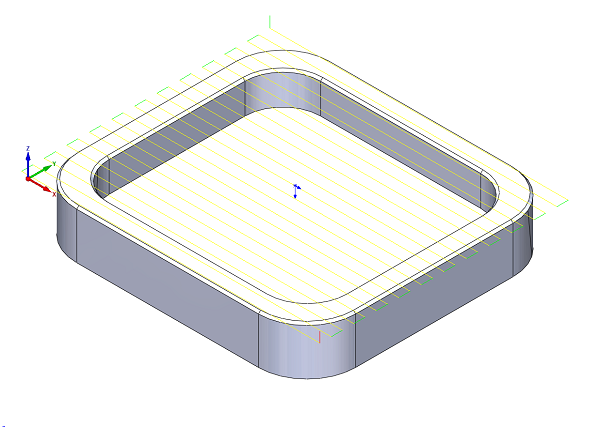
CAD model
In several minutes I sketched a 3D model and made G-code to cut it out of stock material.

Lens cap dimensions
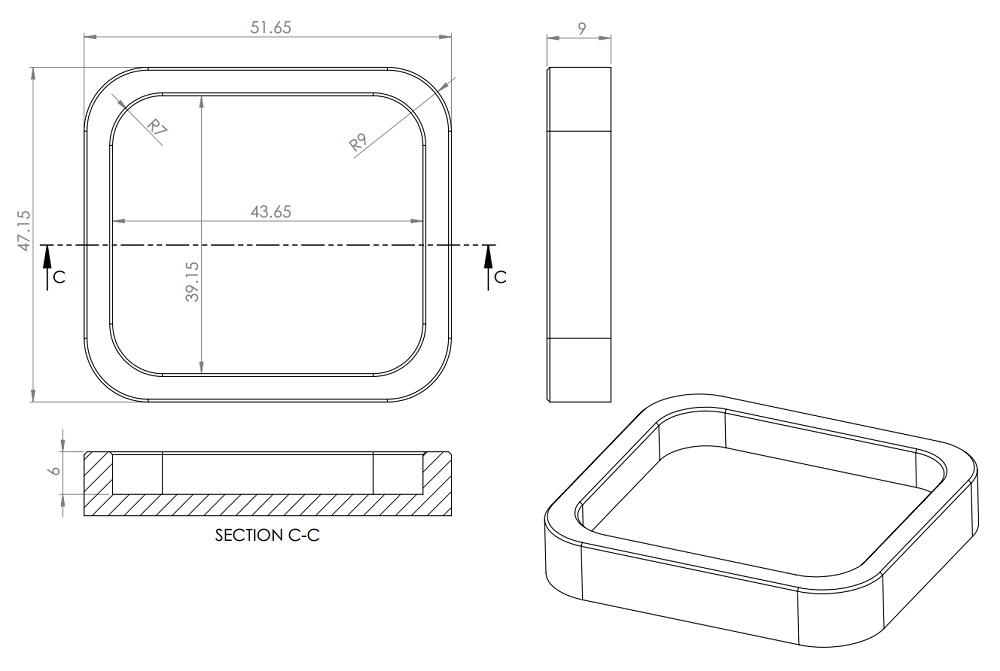
Underwater case lens dimensions
Materials and tools
I have chosen 10mm thickness clear acrylic (plexiglass) – I found right piece in my scrap.
I have used these tools:

2 flute carbide 3mm end mill

3mm 90* carbide router engraving tool
Feeds and speeds (camera lens cap)

Chamfer milling. 90* Engraving bit. (Profile depth 0.5mm; Feed 300 mm/min; Spindle 24000 RPM)
It’s best to clear tool path by removing material first and chamfering later, but toll/material configuration is very forgiving, so I am chamfering at first and removing rest material after.

Face milling. (Face depth 0.1mm; Feed 700 mm/min; Spindle 24000 RPM)

Pocket milling. (Face depth 6mm; Feed 700 mm/min; Step down 1mm; Spindle 24000 RPM)

Cutting outside. (Face depth 6mm; Feed 600 mm/min; Step down 1mm; Spindle 24000 RPM)
Feeds and speeds (enclosure lens cap)
Steps and manufacturing parameters are the same, so I will not repeat myself.
Enclosure lens cap
Video
Results
I am very happy with with both caps. They fit just right the way they need to.

Both manufactured caps
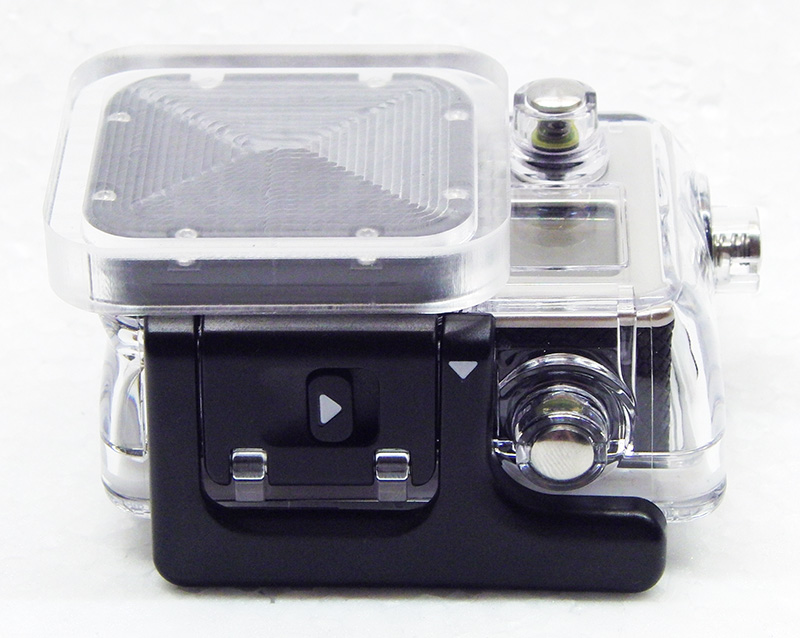
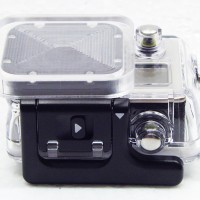
Lens cap on waterproof case
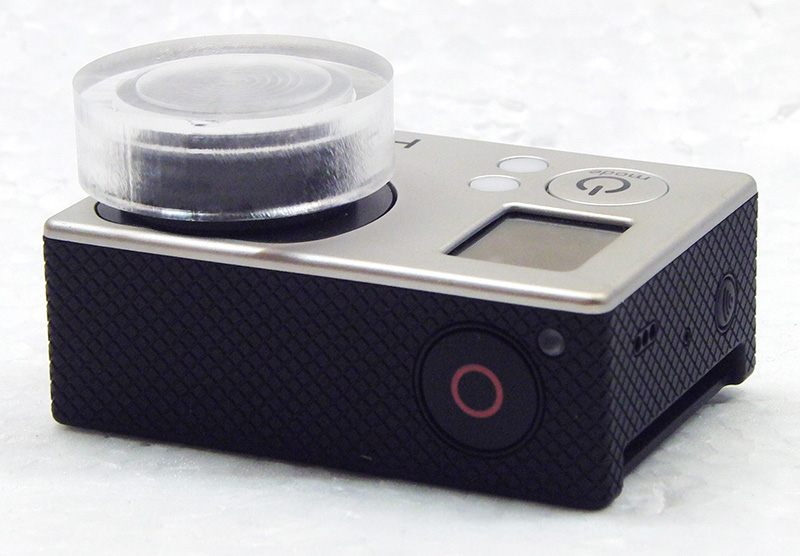
Lens cap on gopro hero 3 camera
Notes
- Wet manual way or use flood to cool down work tool while cutting. If no, material will not be able to clean and will start to stick to big blob around end mill. Acrylic will melt and tool will break.
- Another option is to use compressed air. It will also help cooling tool and clear chips. One drawback it’s messy. Chips will fly everywhere.
- I have chosen strategy to use manual wetting. I did not cleared wet chips intentionally – it helped to reduce flying chips and water particles.
- I used emulsion instead of plain water. It lubricates tool and prevents rusting.
- Safety first – wear eye protection!
hello,
could you tell us a word about the software you used?
@mimil
What exactly would you like to know?
Have just made these from HDPE chopping board. Drawn up in Vectric 2D (10 minutes) and cut out using a Marchant Dice MDL-A4 machine (approx 45 minutes). They work beautifully…
Nice to hear!